CAD & Modeling
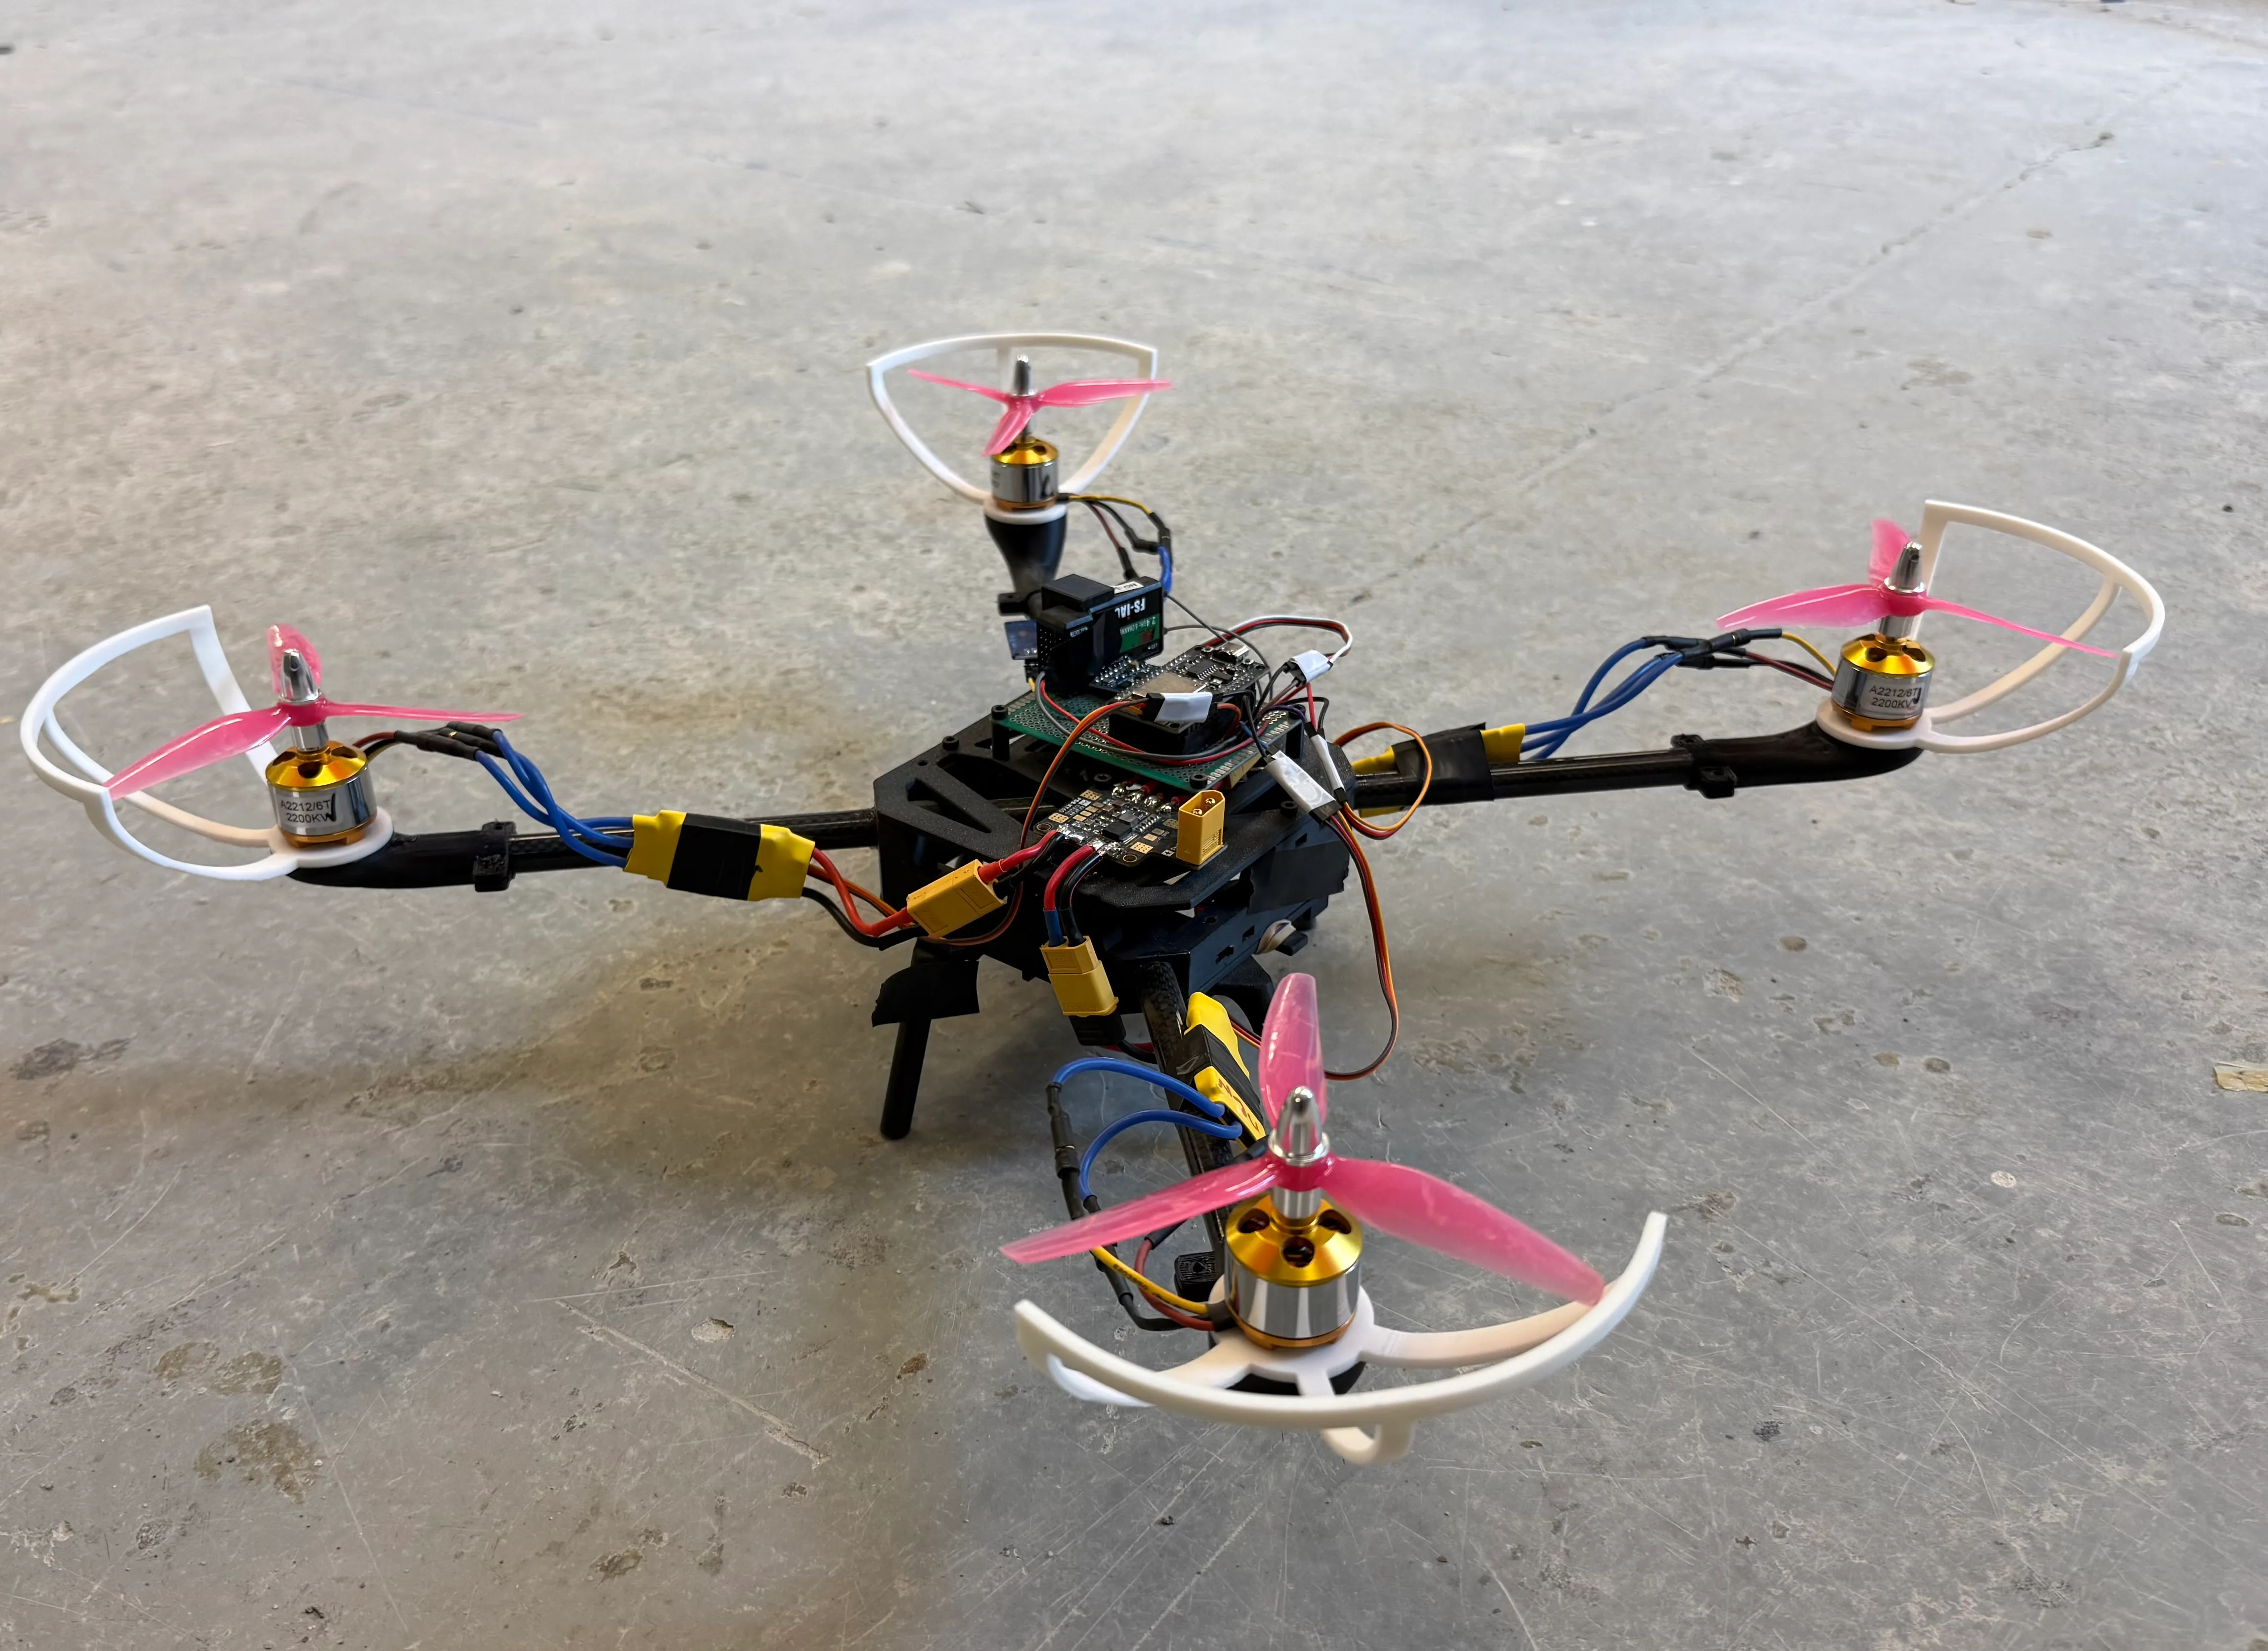
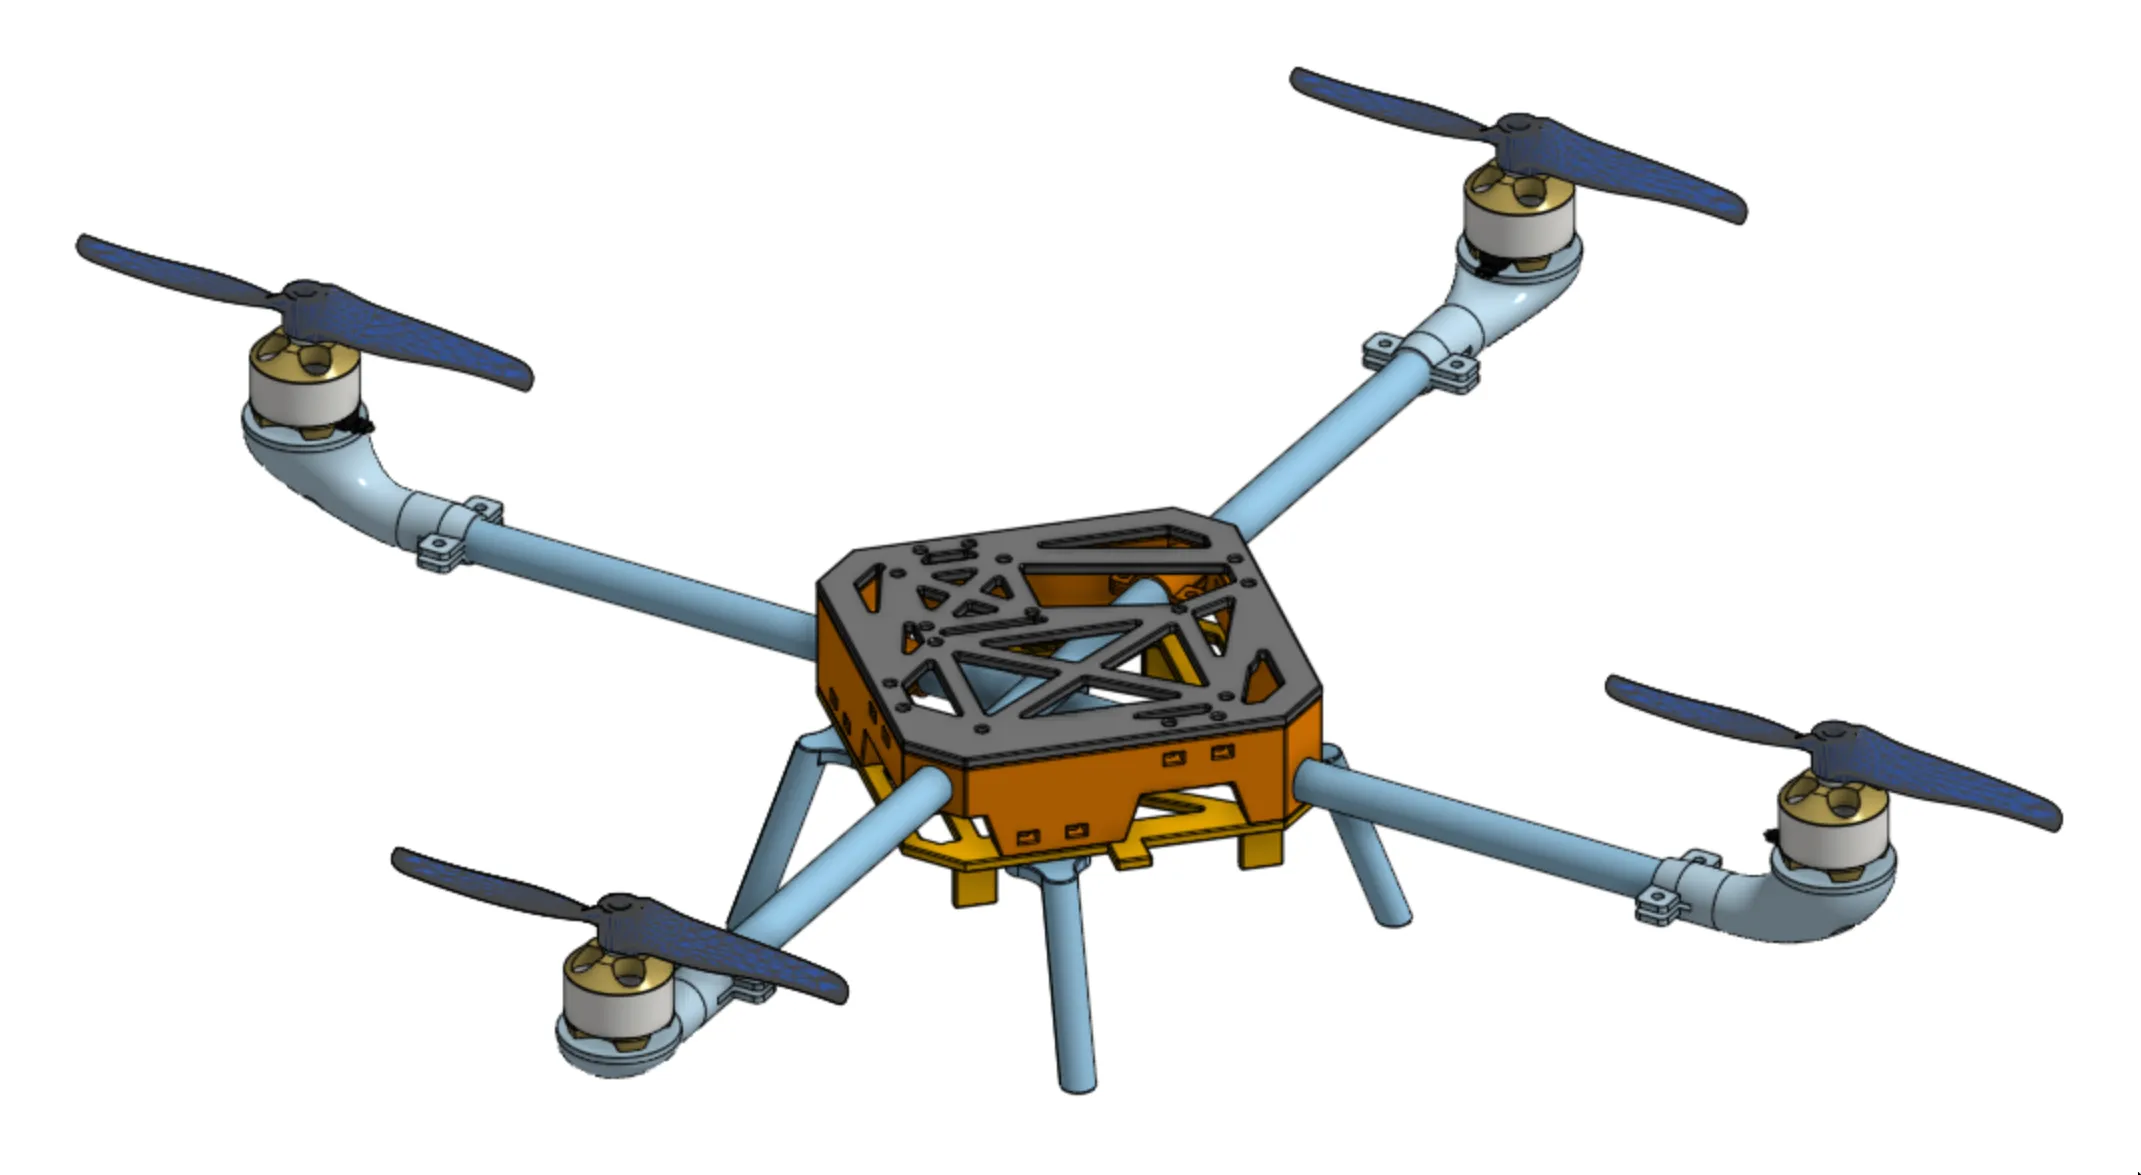
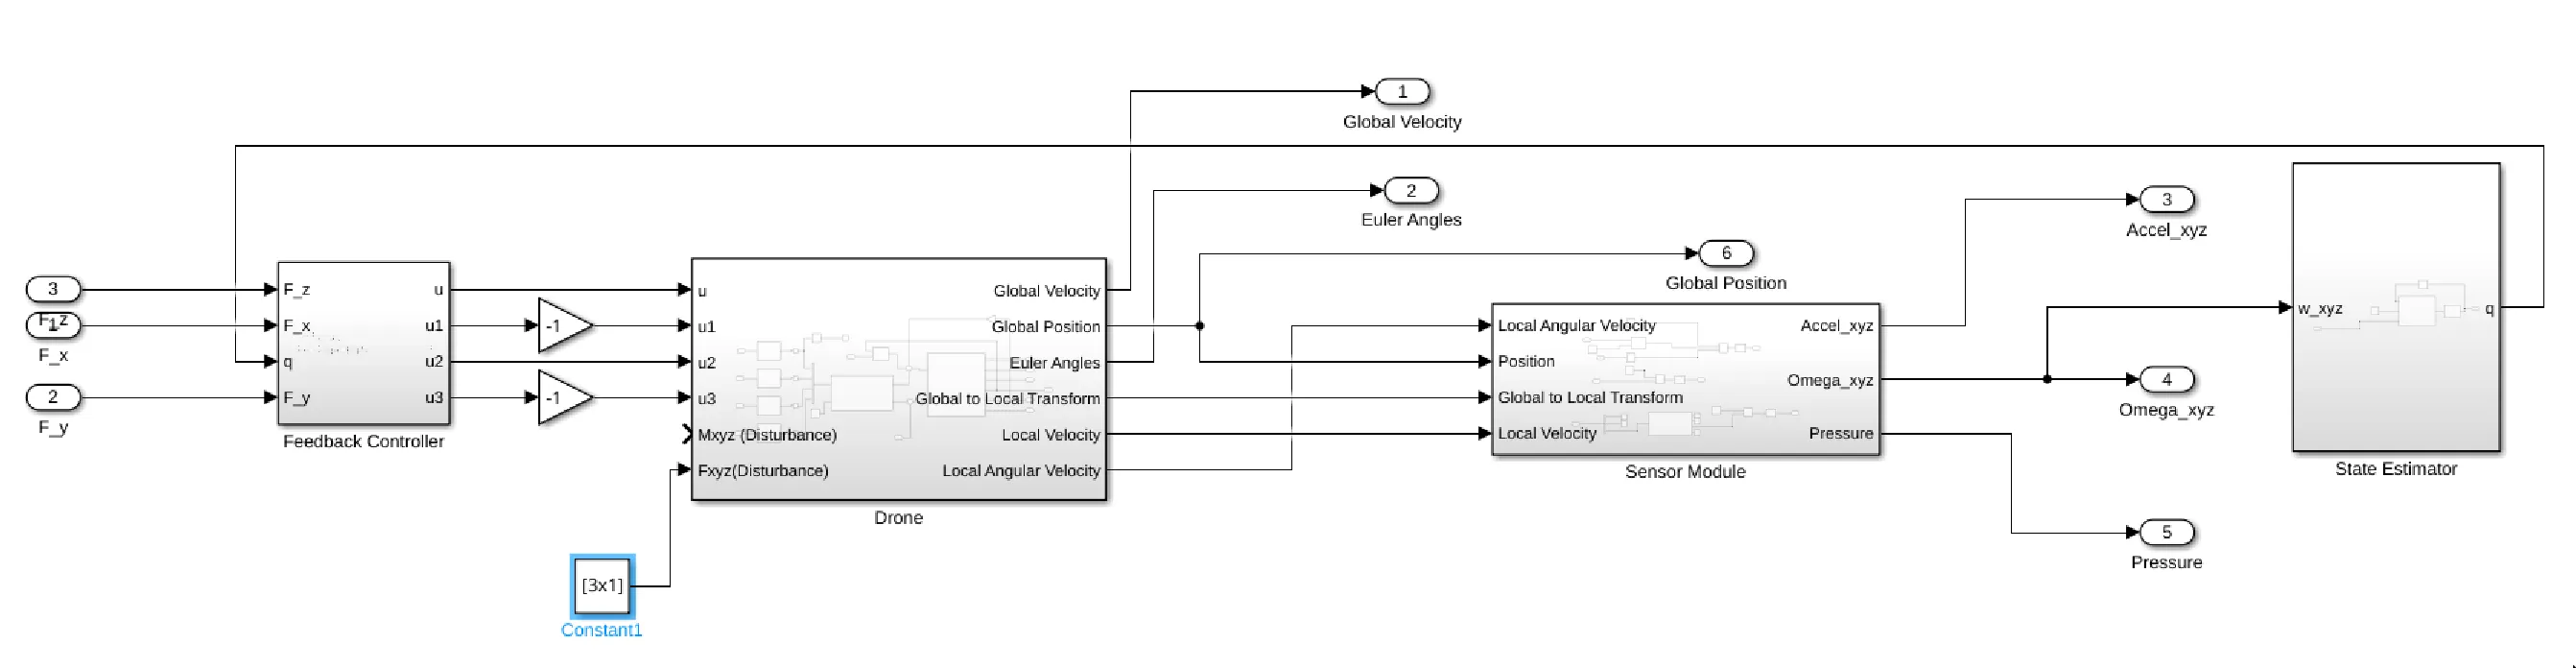
I built and programmed a quadcopter with a custom flight controller. I began the process by choosing electronic components and creating a basic CAD model of the design. After estimating the weight, moment of inertia, and motor parameters, I created a model of the drone and its sensors using MATLAB and Simulink. This helped me plan the structure of the control system and determine initial tuning parameters. For the first iteration, I used basic filters and Riemann integration for the attitude estimation, and PID for the control.
Custom Flight Control Code
For the flight controller I opted to use an ESP32 devboard, along with an external chip containing a 6-axis IMU and a magnetometer. The flight control code was programmed in C using FreeRTOS based on parameters determined from the Simulink modeling. It has interrupt-driven IMU data reception, and tasks to receive controller input wirelessly, estimate the attitude using an EKF, and generate control inputs for the motors using the PID controllers. The code can be found on my github.
Flight
PCB Flight Controller
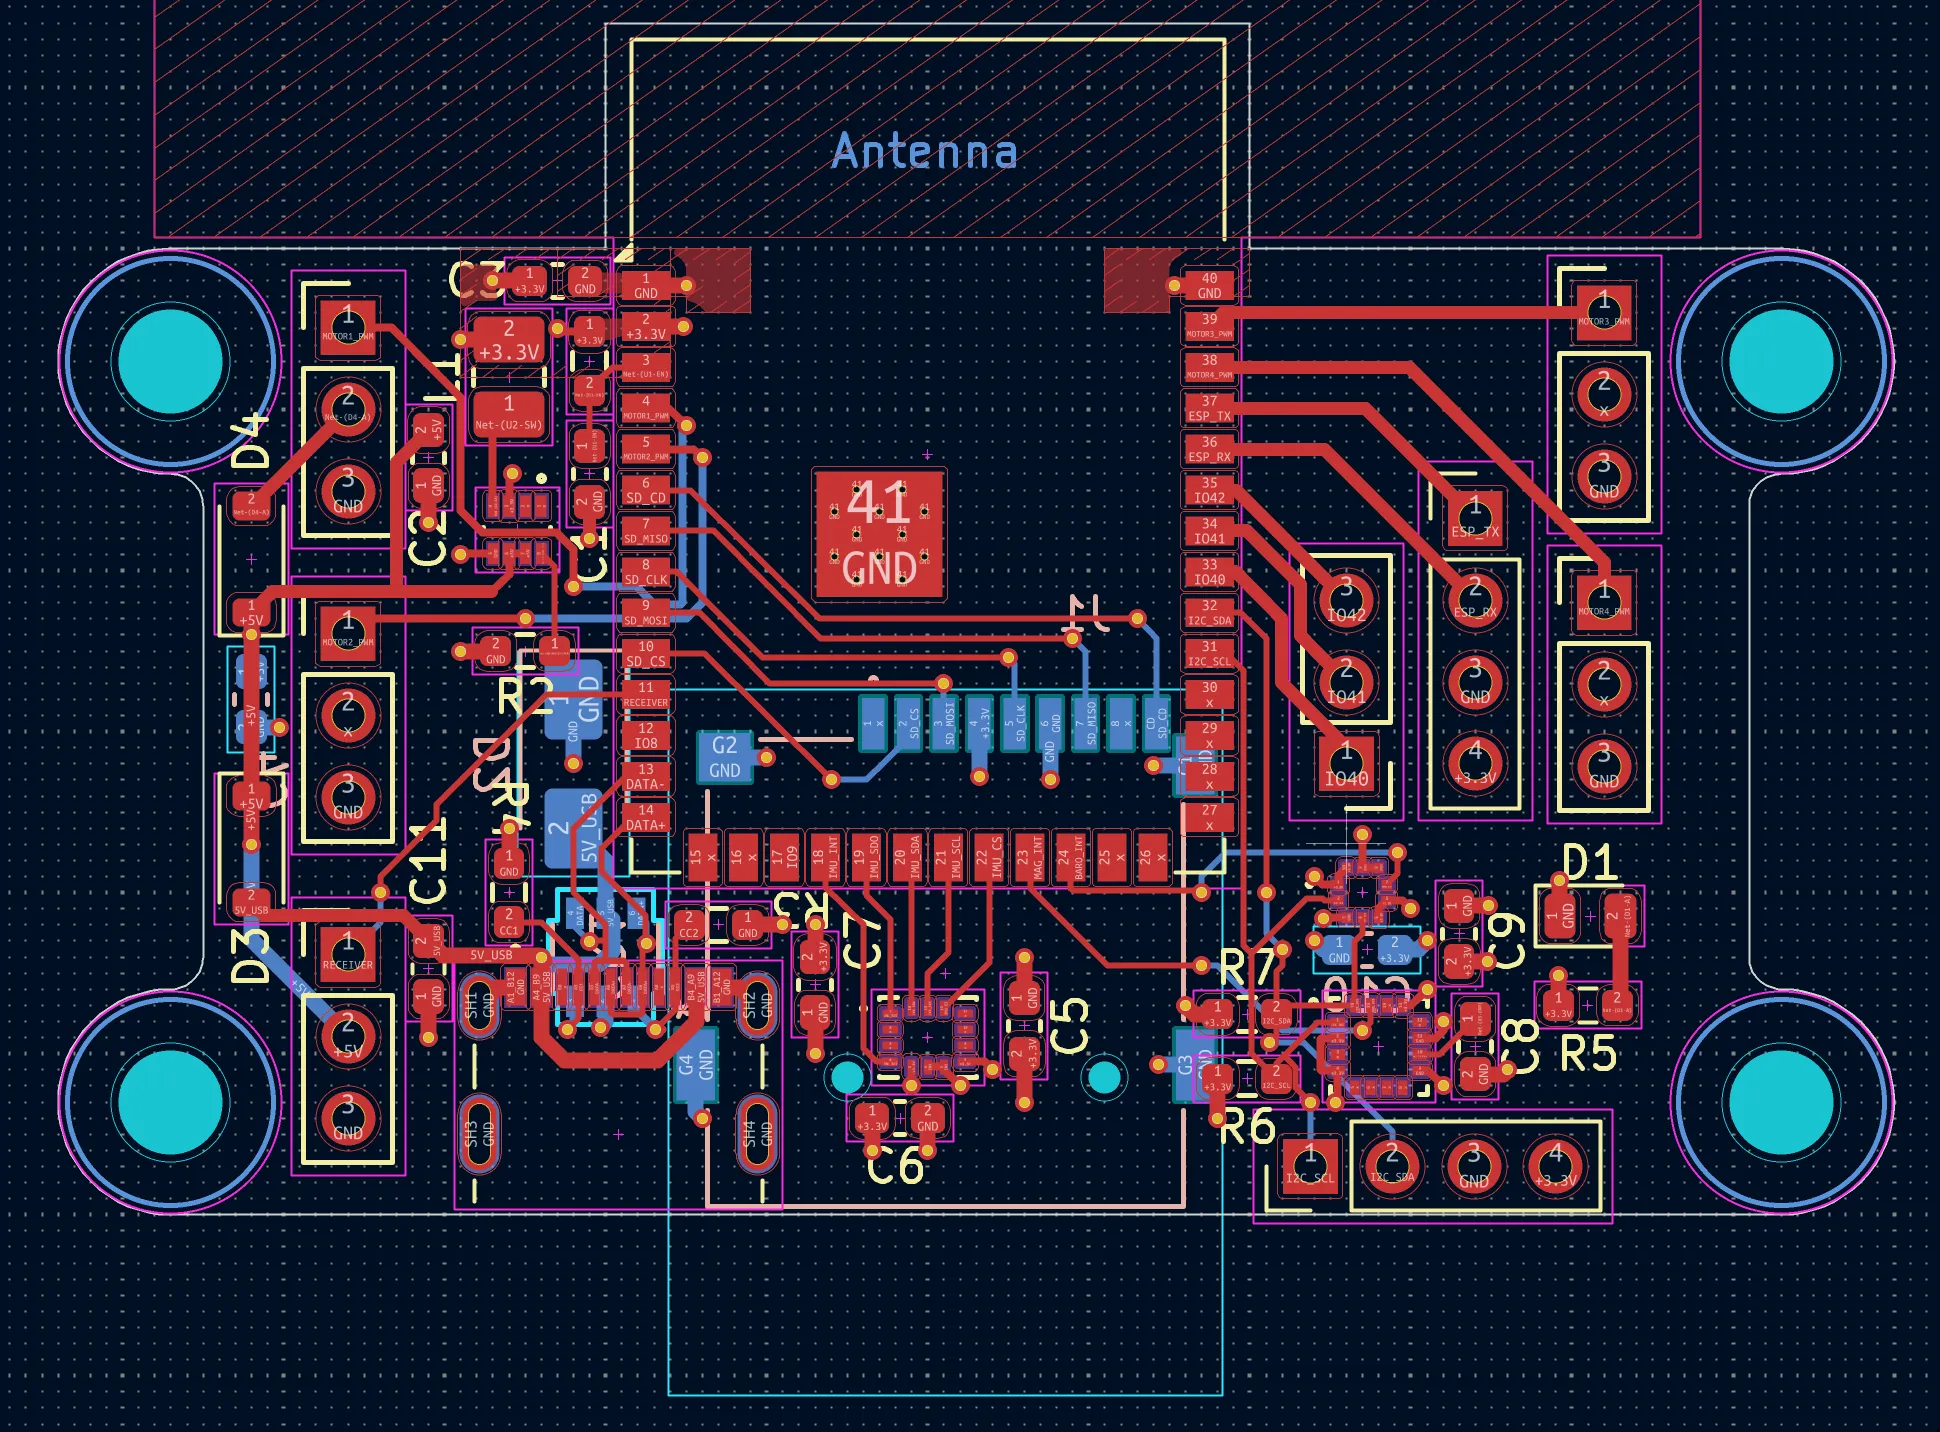
After developing the initial flight controller using an ESP32 devboard and sensor module, I decided to attempt to develop a custom PCB to act as the flight controller. I used KiCad to develop a PCB using an ESP32-S3-WROOM module with the following features:
- Supports power via USB-C or ESC BEC, and USB-C uploading/debugging
- 6-axis IMU, 3-axis Mag, Barometer
- 4 three-pin outputs for ESCs, 1 UART input from RC reciever
- UART breakout for GPS
- I2C expansion header
- microSD cart slot for datalogging
- spare GPIO pins accessible
My primary goal was to develop a low cost flight controller to use on my drone, not a precision flight controller for extreme applications - I ended up with a total component cost ~20 USD.
Assembly
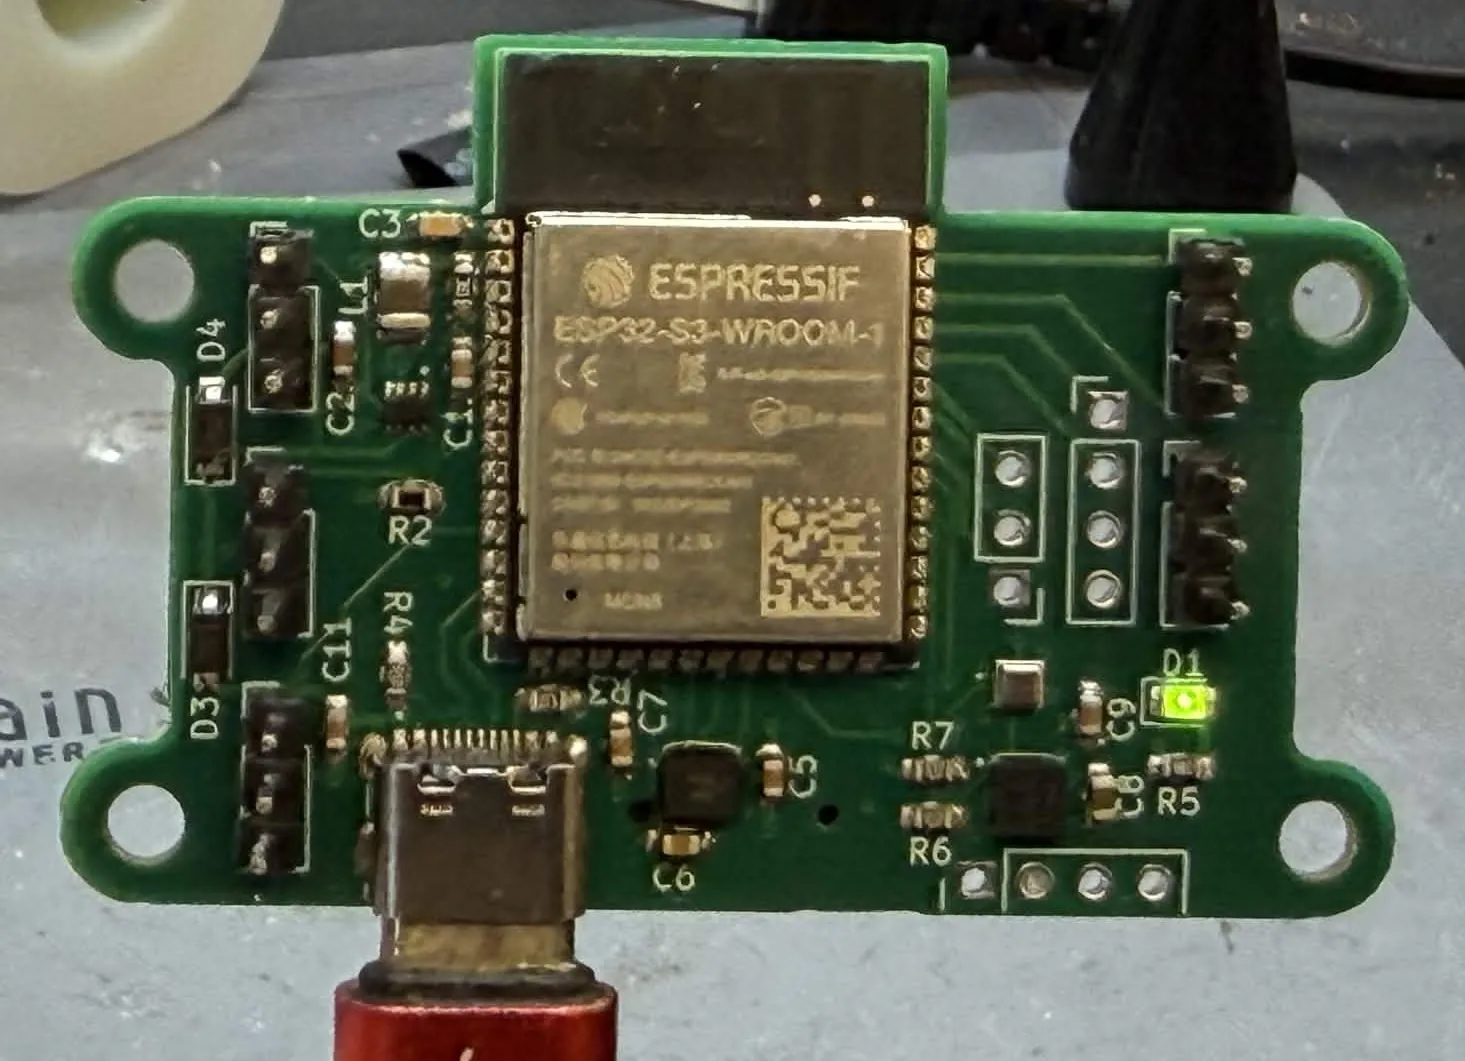
I assembled the PCB myself using a stencil, but failed to solder the IMU correctly. I ended up tearing a pad off while trying to rework it, so I haven’t tested this on the actual drone. I verified functionality of every part of the board except for the IMU, and correctness of the IMU in the schematic. I will likely assemble/solder a spare of the board when I regain access to the stencil.
The Future
Other improvements I might make in the future:
- Add GPS
- Improve motor control by doing real-world hardware tests to achieve a more accurate model
- Implement superior attitude controller to PID
- Attach a camera and do other projects with the drone